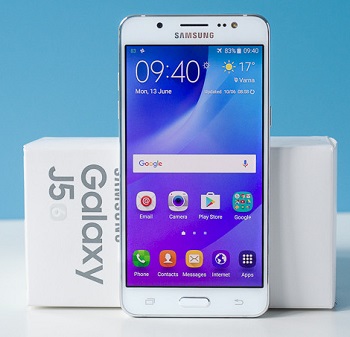
Samsung Galaxy J5 J500F can be rooted on XXU1BPL3 Android 6.0.1 Marshmallow by following the tutorial. The official stock Rom brings new maintenance and bug fixes to this low budgeted smartphone. Once the user roots its devices will not get back into the stock firmware again hence, he has to update manually through odin process. But root brings lots of boons to use rooted apps installing custom ROMs, themes and more. The rooting procedure is very easy and the tools are about to install are safe.
Before going to procedure make sure that we are not responsible for any misfortune or brick f device. Hence the risk factor must be taken by user only. The mentioned tools and files belongs to developer, we have only came up with the tutorial.
The CF-auto root procedure is tested on XXU1BPL3 Android 6.0.1 Marshmallow firmware of Samsung Galaxy J5 SM-J500F by the developer. And you must check the device model by settings-about phone- model number to confirm before rooting it. If the rooting is do on other model than unwanted results is sure.
Pre-Requisites
- Makes sure the battery is charged up to 70 percent.
- Backup all the device data using back app.
- For connection with personal computer one must enable the USB Debugging on Galaxy S5.
- USB driver for the device J500F must be installed on PC.
- Enable the USB Debugging mode by tapping settings-application- development-USB Debugging to tick.
Procedure to root Galaxy J5 SM-J500F
- First download CF Auto Root package based on Android 6.0.1 for Galaxy J5 LTE version on your PC. Just extract the zip file and place in desktop.
- Then download the ODIN 3.09 for rooting the device.
- Before connecting the device, switch off the phone and press hold the Vol Down+Home+ power button. Hold the buttons till the warning message appears on the phone. Pressing the vol up will confirm the download mode.
- Now open ODIN in your PC and connect the phone via USB cable in download mode. If the ID:COM box turn yellow with COM port number.
- Flash file CF-Auto-Root-j53g-j53gxx-smJ500F.tar‘ on your phone and click PDA/AP.
- Check Auto Reboot and F. Reset Time options in ODIN. After this click the start button to initiate the process.
- After installation is completed, the device rebooted automatically into recovery mode and the ID:COM box turns green.
- When the home screen appears, detach the cable from the PC.
Voila! You have just learned the procedure to root Galaxy J5 J500F on XXU1BPL3 Android 6.0.1 Marshmallow easily by following the tutorial. Check if its rooted or not by SuperSU app. For further details do stay connected to Blogzamana.

