From the days of Windows 95, though the design has changed between each releases, the color of windows folder icon has always been yellow. Fortunately, Windows includes an option to change the folder icon. In this tutorial I’m going to cover up how to change the default folder icon in windows.
Method 1: Changing the folder properties.
The first and easiest way is to change the folder properties.
- Select any folder and go to “Properties” context menu.
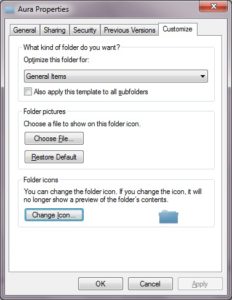
- In the Customize tab, under the header “Folder Icons”, click the button “Change Icon…”
- In the dialog that appears, select one form the list or click browse to locate your custom icon resource which can be an EXE, a DLL or (most preferably) an ICO file.

- When you’re done with the selection, click “Ok” and then “Apply” to apply your recent changes.


![]()
In case you need to revert (any time in future), Click on the “Restore” button in the “Change Icon…” dialog.
But sadly, this applies to individual folders. You cannot change the icons of the entire system at once. However, this is the simplest way and helps us to custom style different folders on the hard drive based on their content or importance.
Method 2: Registry Tweak
The aforesaid method works only for individual directory but this tweak is for changing the appearance of folders across the whole system.
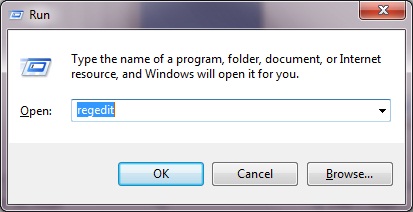
- Start “Regedit”. To start “Regedit” press Windows + R and type in “regedit”. If prompted by UAC click “Yes”.

- In Regedit, navigate to : HKEY_LOCAL_MACHINE\SOFTWARE\Microsoft\Windows\CurrentVersion\Explorer
NOTE: If Shell Icons is already present, then you can skip the steps 3 and 4. - Create a new key “Shell Icons”. To create a new key, right click on the Explorer key and click on New and Key. Then type Shell Icons and press Enter.

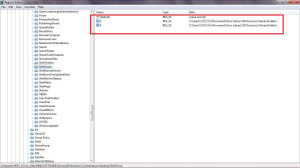
- Create two keys named 3 and 4. To create the keys, right click on a empty space, in the right pane of Shell Icons and click on New and String Value. Type the name (in this case 3 or 4) and press enter.
- Now modify the values. Double click on key 3 and type the full path of the icon file in the “Value Data” field. This will be the closed folder icon similarly modify key 4 and type the path of the open folder icon. After modifications, the shell icons pane should look something like the screenshot.
- Restart or Log off and then Log on to apply the changes.
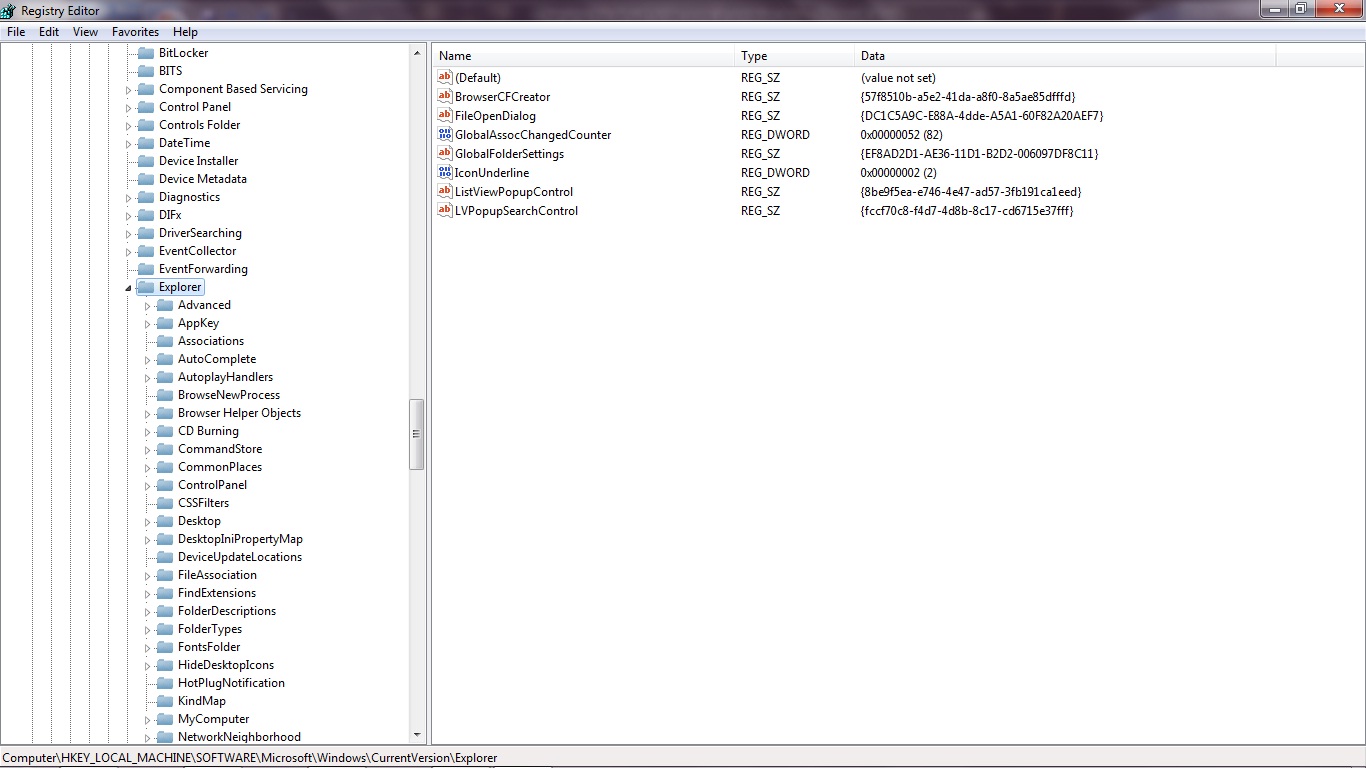

![]()
Note:
- Use a 256×256 icon else, the icons may not display correctly in large and extra-large file views.
- This does not change the appearance of special folders (Documents, Pictures, for instance).
- Changes don’t apply to folders with thumbnails enabled. To disable thumbnails, in Windows Explorer go to Tools > Folder Options and check the option “Always show icons, never thumbnails”.
For your convenience, we have a reg file with icons, which you can download here.
Method 3: Replacing icons in imageres.dll
Now if you want a complete system makeover, the registry tweaks won’t be suitable for you. For this purpose, you’ll need to modify the icons present in imageres.dll. Before you proceed, be warned that modifying system files is inherently a dangerous task and we shoulder no responsibility for any loss or data corruption. Proceed at your own risk. Though we have tested it, but computers are weird. We cannot guarantee it will work on you device. BlogZamana disclaims any responsibility of loss or data corruption arising from following the procedures described in this tutorial. Anyways, should you fall into any problems we are there to help you out.
Requirements:
- A resource editor. My favorite is Resource Hacker. But there are tons of others out there and you can pick up any.
- Icons in 256×256 (32 bpp), 16×16 (4, 8, 32 bpp), 32×32 (4, 8, 32 bpp), 64×64 (4, 8, 32 bpp) all embedded in a single icon file. There’s an example don’t worry.
Before you proceed MAKE A BACKUP OF THE IMAGERES.DLL FILE and keep the installation media or recovery disk handy.
Here are the steps:
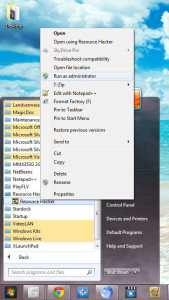
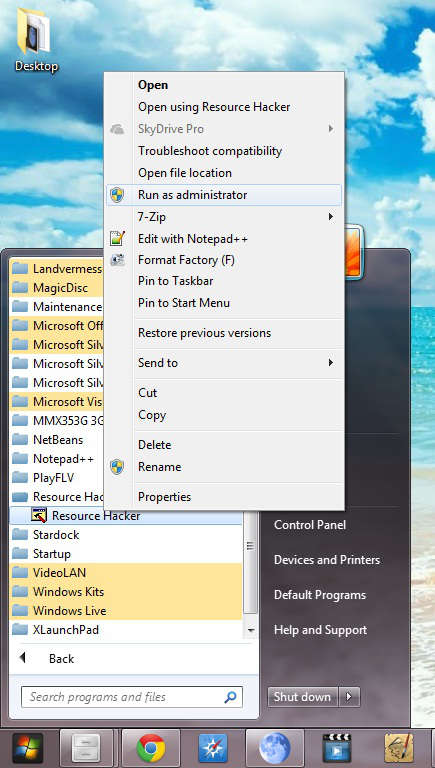
- Open Resource Hacker as an Administrator by right-clicking on the icon and selecting “Run as Administrator…”
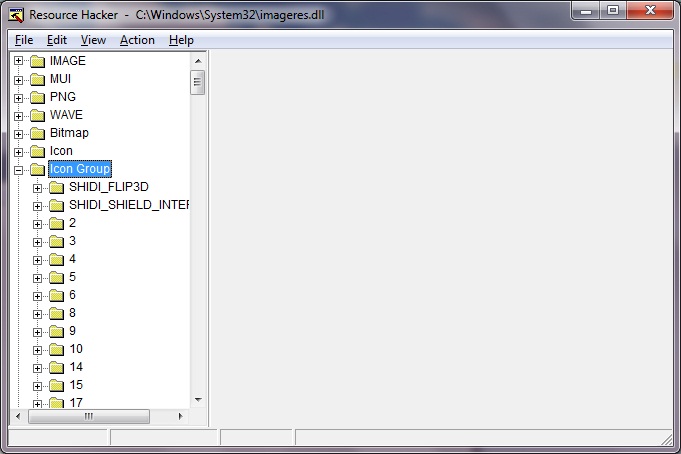
- Open the file imageres.dll which is located in System32 directory in the Windows installation directory (usually C:\Windows\System32).
- Navigate to Icon Group and select the icons of your choice. Right-click on it and select “Replace Resource”. Open the file with new icon (in our case the ico files) and click replace.

- Now save the DLL by selecting “Save As…” to another location. Be careful to keep the file name as “imageres.dll”.
Now that we have replace the icons, we need to replace the system files with our custom one. For this you need another utility called Se7en File Replacer . - Open the utility.
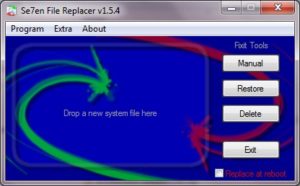
- Click on the manual button.
- Locate the new file (our modified DLL).
- Then locate the file imageres.dll in System32 folder.
- Now reboot the system to apply the changes.

To revert the changes you have done,
- Open Se7en File Replacer.
- Click on the “Restore” button.
- Select the imageres.dll file from the System32 folder.
- Reboot to apply the changes.
You’re done! The folder icons are changed. Enjoy modding, Good Luck!
![]()
![]()
You can get also some other to replace your dll icons.


What’s up mates, its fantastic post concerning teaching and fully defined, keep it up all the time.