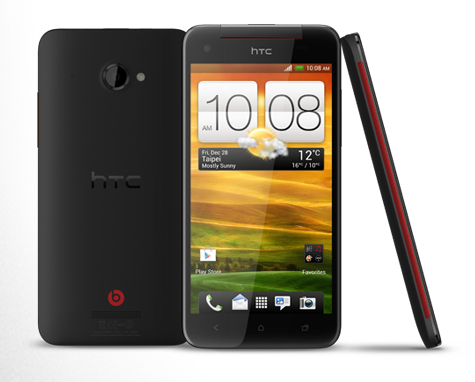
HTC Butterfly is the smartphone that comes with wonderful features and now device is been rooted. If it is been rooted than the device gets the opportunity to install custom ROMs and make use of applications that requires root access. After that you can install the Touch based Recovery Image on device.
NFC based HTC Butterfly is 5.0 inches phone with Android OS, v4.1.1 Jelly Bean running operating system. It is equipped Quad-core 1.5 GHz Krait processor with Adreno 320. The data speed of HSPA+, LTE, Cat3, 50 Mbps UL, 100 Mbps DL. You can watch videos and play them in 1080p@30fps with stereo sound. It has got 2.1 mega pixels front camera for web chatting and using other apps from Google Play store. Keeping the videos and images won’t be problem because the device already comes with 11 GB user capacity and further can be expanded to 32GB. Dropbox also gives away 25 GB free space on cloud. What else you need man? Yes talking about battery then the device has massive Non-removable Li-Po 2020 mAh battery.
Once the HTC Butterfly is been rooted can’t return back to its original ROM unless until it is been treated with Official stock ROM. So do think a bit more times to root the device and bear the warranty loss. Any damage or loss will not be the responsibility of Blogzamana. But at the time of any doubt we will defiantly meet the correct answer to it.
Requirements:
- HTC Butterfly
- Windows PC (Windows 7 or XP)
- You must have internet on your PC or laptop what you are using to download files from here
- Original USB cable must be used otherwise the device will not get detected
- Battery power must be around 40% or more to avoid automatic shut down
- Enable the USB Debugging by Settings > Applications > Development and tick the USB Debugging box. Afterwards untick the USB Debugging box for security reasons
- Back up all the personal data present in HTC phone through backup apps but not through HTC Sync
Downloads:
- Rooting pack (http://d-h.st/2×9)
- TWRP Recovery (http://d-h.st/qdq)
Procedure to root HTC Butterfly and install TWRP Recovery image:
- First make the cache removed from the phone in recovery mode. To enter in recovery mode the user has to shut down the phone completely. Then, press and hold the Volume up key and Power button. Leave the buttons and select wipe data cache and wipe data/ factory reset. After that go back and select reboot system now.
- Now download the above two files in your computer and do not unzip it.
- The computer must be installed with ADB to extract the recovery files in the computer.
- In the computer open a command prompt by start->cmd and connect the device via USB cable. When the device get detected, all the drivers installed in the computer. And you have to type “Adb reboot bootloader” (without inverted comma) in command prompt. Again type “fastboot flash recovery recovery.img” (without inverted comma) in command prompt. Again type “Fastboot reboot” (without inverted comma) in command prompt.
- The last command helps the device to reboot the HTC Butterfly. While connected copy paste the rooting pack in the SD card.
- Switch of the device to boot in boot loader mode by following the step 1. There select install zip from sd card and choose the same to flash the package in your phone.
- Wait for 4 minutes and get ready to use the rooted HTC Butterfly. Go to Google Play store and install the Root checker app to confirm the root access.
Well you have rooted your HTC Butterfly and installed the TWRP Recovery touch. If you have any problem or can’t understand the procedure then do comment us.
