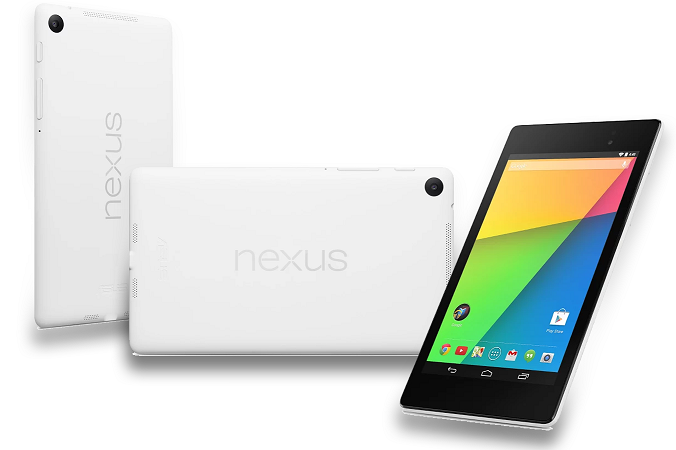
If you are a Nexus 7 user of 2012 & 13 models and want to further upgrade your phone, then we have a very good news for you. Reportedly, the latest Android 4.4.3 official firmware is already on floors for all Nexus 7 devices. Of course, the update is available in counted number of countries, but soon its going to hit around the corner of the globe. Anyways, this OTA update is rolling in full pace and will hit the notification panel of your device soon. But if you are in more hurry to update your Nexus 7, then you can follow the manual update process, which I bring here today for you. The process is too easy and is even applicable for your device if it’s already rooted or supports a Custom ROM. But before starting the installation, you need to have an intense look on certain requirements which will safeguard both your Smartphone and data being corrupted or vanished. Get to know the details below.
Caution
First of all double check the Name and model number of your device by going to the About Device section of your Smartphone, before starting the updation process since it’s only meant for the Nexus 7 Smartphone. Using this tutorial in other devices or even other models of the same series might harm your device drastically. Keep in mind that BlogZamana will no way remain responsible for any sort of issues like Bugs, Brick of device or Dead SD Card, if your device experiences any during the installation process. What you do is your own risk.
Pre-Requisites
- One Lg Nexus 7 Smartphone.
- Original Data Cable.
- One PC preloaded with Nexus 7 drivers. Else at first download and install the drivers on your PC from Samsung’s official website.
- Enable the USB Debugging Mode. You will find the option in the Developer Section of your device.
- Back Up all important data in Android your device since the unlocking process will erase all data.
- Keep at least 60% to 70% battery back up in your Nexus 7 Smartphone to avoid accidental shut down during installation.
Downloads
- Nexus 7 Android 4.4.3 Factory Image
- ADB/Fastboot Files
Mac – Download link
Windows – Download link
Linux – Download link
Steps to update Nexus 4 with Android 4.4.3 Firmware
- First of all download the files from the above links and extract the folders to the desktop. Download the ADB/Fastboot file as per your required OS from the given link.
- Now move all the files of the extracted Android 4.4.3 Factory Image folder to the Fastboot folder on desktop.
- Connect your Smartphone to your PC via USB now.
- After make your Smartphone enter into Fastboot mode. To do that first switch off your device and switch it on while holding the Volume Up, Volume Down and Power keys at the same time.
- Now go to the ADB/Fastboot folder on your desktop and run one of the following files as per your requirement.
On Mac: Run the file “flash-all.sh” using Terminal.
On Windows: Run the file “flash-all.bat”.
On Linux: Run the file “flash-all.sh”.
- Wait still the flashing completes or follow the instructions that appear on your mobile screen.
Congrats!! You are all done. Now your device will reboot automatically and will run the latest Android KitKat 4.4.3. In case you find any issues in the updation process, don’t forget to get back to me via the comment section.

